Integrity - based innovation in science and technology Home|Collection|Contact us
TEL:
0755-82720811
0755-82720811
Name:Helen.
Tel:0755-82720811
E-mail:helen@chinalctech.com
Add:Room 309,Building No.6,Mengliyuan Industrial Park,No.146 Yousong Road,Longhua District,Shenzhen,518109
Online consulting

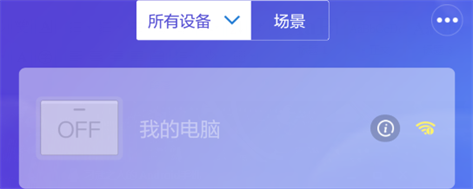 ●Boot card offline
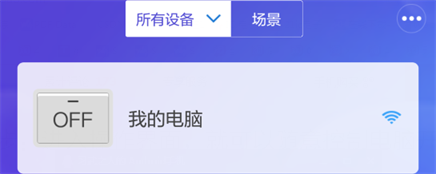 ●Boot card online+PC power off
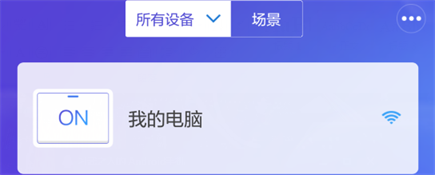 ●Boot card online+PC power on
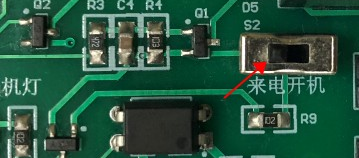 ●Disable
 ●Enable
© 2002-2017 Shenzhen LC Technology Co.,Ltd. All rights reserved.
Add:Room 309,Building No.6,Mengliyuan Industrial Park,No.146 Yousong Road,Longhua District,Shenzhen,518109
Tel:0755-82720811
Mobile station